


Giving a loved one a gift always feels like a special occasion. No matter the occasion, it is a heart warming act of thinking of your loved ones and the things they enjoy. One thing I have learned over the years of mothering my children, is the joy that receiving gifts made by those tiny, very loved little hands is always above and beyond anything bought. Something about taking the time to use your hands to make a gift, it is a message that your time is your most valuable resource, and it is worth spending on the people you love to make them gifts from the heart.

Today, we will make hand dipped beeswax candles to gift our friends and family. Candles to shine brightly and bring light to the dark winter nights on their way, and to lift their spirits with warmth. We can even make a few for ourselves, to fit perfectly in our advent spiral or celebration rings!
Gather Your Supplies

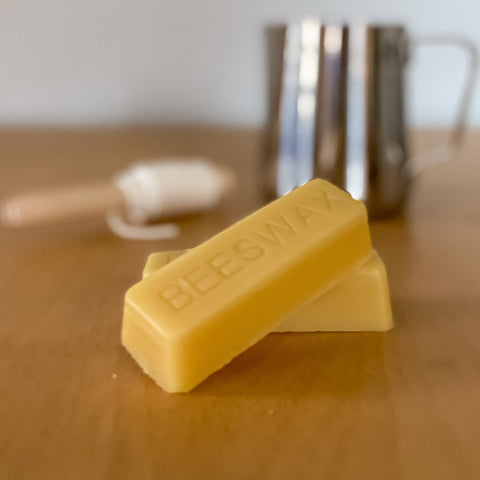
-Pure Beeswax (you can use blocks or pellets)
-Cotton candle wick
-Metal pitcher or aluminum can (the taller the pitcher, the more beeswax you can melt, and the taller candles you can create)
-Double boiler (This can be a homemade version. Use a medium sized sauce pot and a metal cookie cutter or canning jar ring. Pour two to three inches of water in the pot. Then place the cookie cutter in the center of the pot and the metal pitcher or aluminum can you will be melting the beeswax in on top of that.)
-Newspaper or kraft paper to cover work surface
-Scissors
-Metal washer or nuts, something to weigh down the wicks to keep candles straight
-Support or drying rack to hang the candles from while they solidify and dry
Begin Crafting - Prepare The Beeswax
1. Begin by covering your work surface with newspaper or kraft paper, melting beeswax can be messy!
2. Prepare a wick. Decide how long you'd like your candles to be. Tie a nut or bolt to one end of the wick, measure for how long you'd like your candles to be, then add two inches. Cut the wick there. Example: If I'd like to make 4 inch candles - I tie the nut on the end of the wick, then measure 6 inches of wick from the nut and trim the wick there. Prepare a few wicks at a time.

3. Create a double boiler as listed in the instructions.
4. Place the beeswax inside the metal pitcher in the double boiler and heat the pot on medium-low heat. The amount of beeswax you melt determines the height of your candles. Start out with a few blocks of beeswax and add more as it melts until desired height is reached.

5. As the beeswax melts, keep an eye on the water in the double boiler. Add more water if it drops below about 2 inches. And don't forget to enjoy the sweet smell of melting beeswax! It is nourishing to the soul.
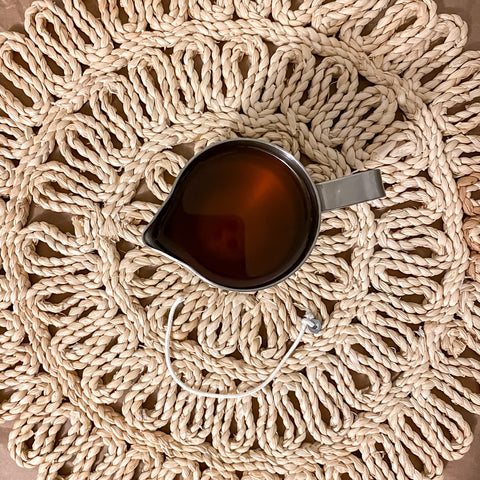
6. Once the wax has liquified, carefully removed the metal pitcher from the pot, dry off the water on the outside, and transfer the pitcher to your workspace. Place the pitcher on a pot holder or trivet.
Begin to Dip The Candles
7. Begin making your candle by dipping the wick, weighted side down, into the wax. Dip it into the wax, lift and remove completely from the wax, then dip it back into the wax. Repeat 3 consecutive times.

8. Gently straighten the wick using your fingers to ensure it has a nice shape. It is difficult to create perfectly straight candles when hand-dipping, but the more often you practice, the easier it becomes.
9. If you would like your candle to have a tapered end, let it cool for roughly a minute, then snip off the weight with your scissors. Otherwise, wait until the end of the dipping process and cut it off with a sharp knife to have a candle with a flat end.
10. Let the wax set a bit before dipping into the melted beeswax again. I tried alternating between three candles. I dip one, hang it up to let it set, then dip the second. I hang that one to set, then dip the third. And so on.
11. Repeat the dipping process until your candles are as thick as you would like them.

12. Hang the candles to dry for at least an hour. Then store in a cool, dry place until ready to gift, or to use. Trim the wicks of your candles to about 1/4th of an inch before burning.
Notes: It is completely normal to have somewhat bumpy candles. It is nearly impossible to create store-bought looking candles at home! And we prefer it that way. The individual look of each hand made candle shows it's special character that only comes through something made with love, by hand.
After dipping your candles for around 10 minutes, the beeswax may begin to solidify again. Simply reheat it in the double boiler until is has liquified and continue dipping.
Make The Candles Into Beautiful Gifts
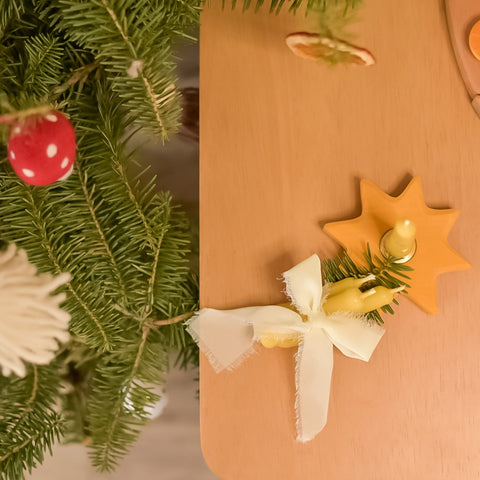
Once you have finished dipping the candles and they have dried completely, you can join them together to create gifts. Use yarn or twine to tie a group of candles together, add a sprig of fir or other greenery to create a sweet packaging. Another way candles can be used is by wrapping gifts with gift wrap or kraft paper, and then tying a candle into the ribbon to create a beautiful, zero-waste and useful gift topper.
Handmade gifts are wonderful ways to share our love and save from over-consumption. Each time the person receiving them uses the candles in the future, they will remember those who took their time to lovingly craft something for them. If you'd like to see other tutorials for handmade gifts, see our many homemade gift blog posts here.

Hi, Jenn! The best size wick for making these smaller size candles would be 3/0. If you plan to make thicker candles, go for a thicker wick like 1/0. 100% cotton square braid wicks have always worked best for us!
What size wick is best? Thanks!
Leave a comment