


The Feast of Saint Martin, also known as Martinmas, is celebrated by many Waldorf schools on November 11 with a lantern walk. Each student makes their own candle lantern and takes part in a dusk procession. This wonderful tradition is an excellent way to kindle inner light as winter draws near and the days become shorter.
In this week's "Sunday with Sarah," I show you a simple way to make a beautiful Martinmas lantern at home! This beautiful light isn't just for the November holiday, though: it's a fun craft that everyone can enjoy year round.
Many Waldorf schools have made it a tradition to celebrate this festival with a lantern walk. The lantern walk is traditionally held in the evening, at dusk. Parents, teachers and children walk together outdoors with their candle-lit lanterns, singing songs very quietly before they return home.
Different Waldorf teachers have made different kinds of lanterns with children for this festival, usually constructing them in the classroom with the children.
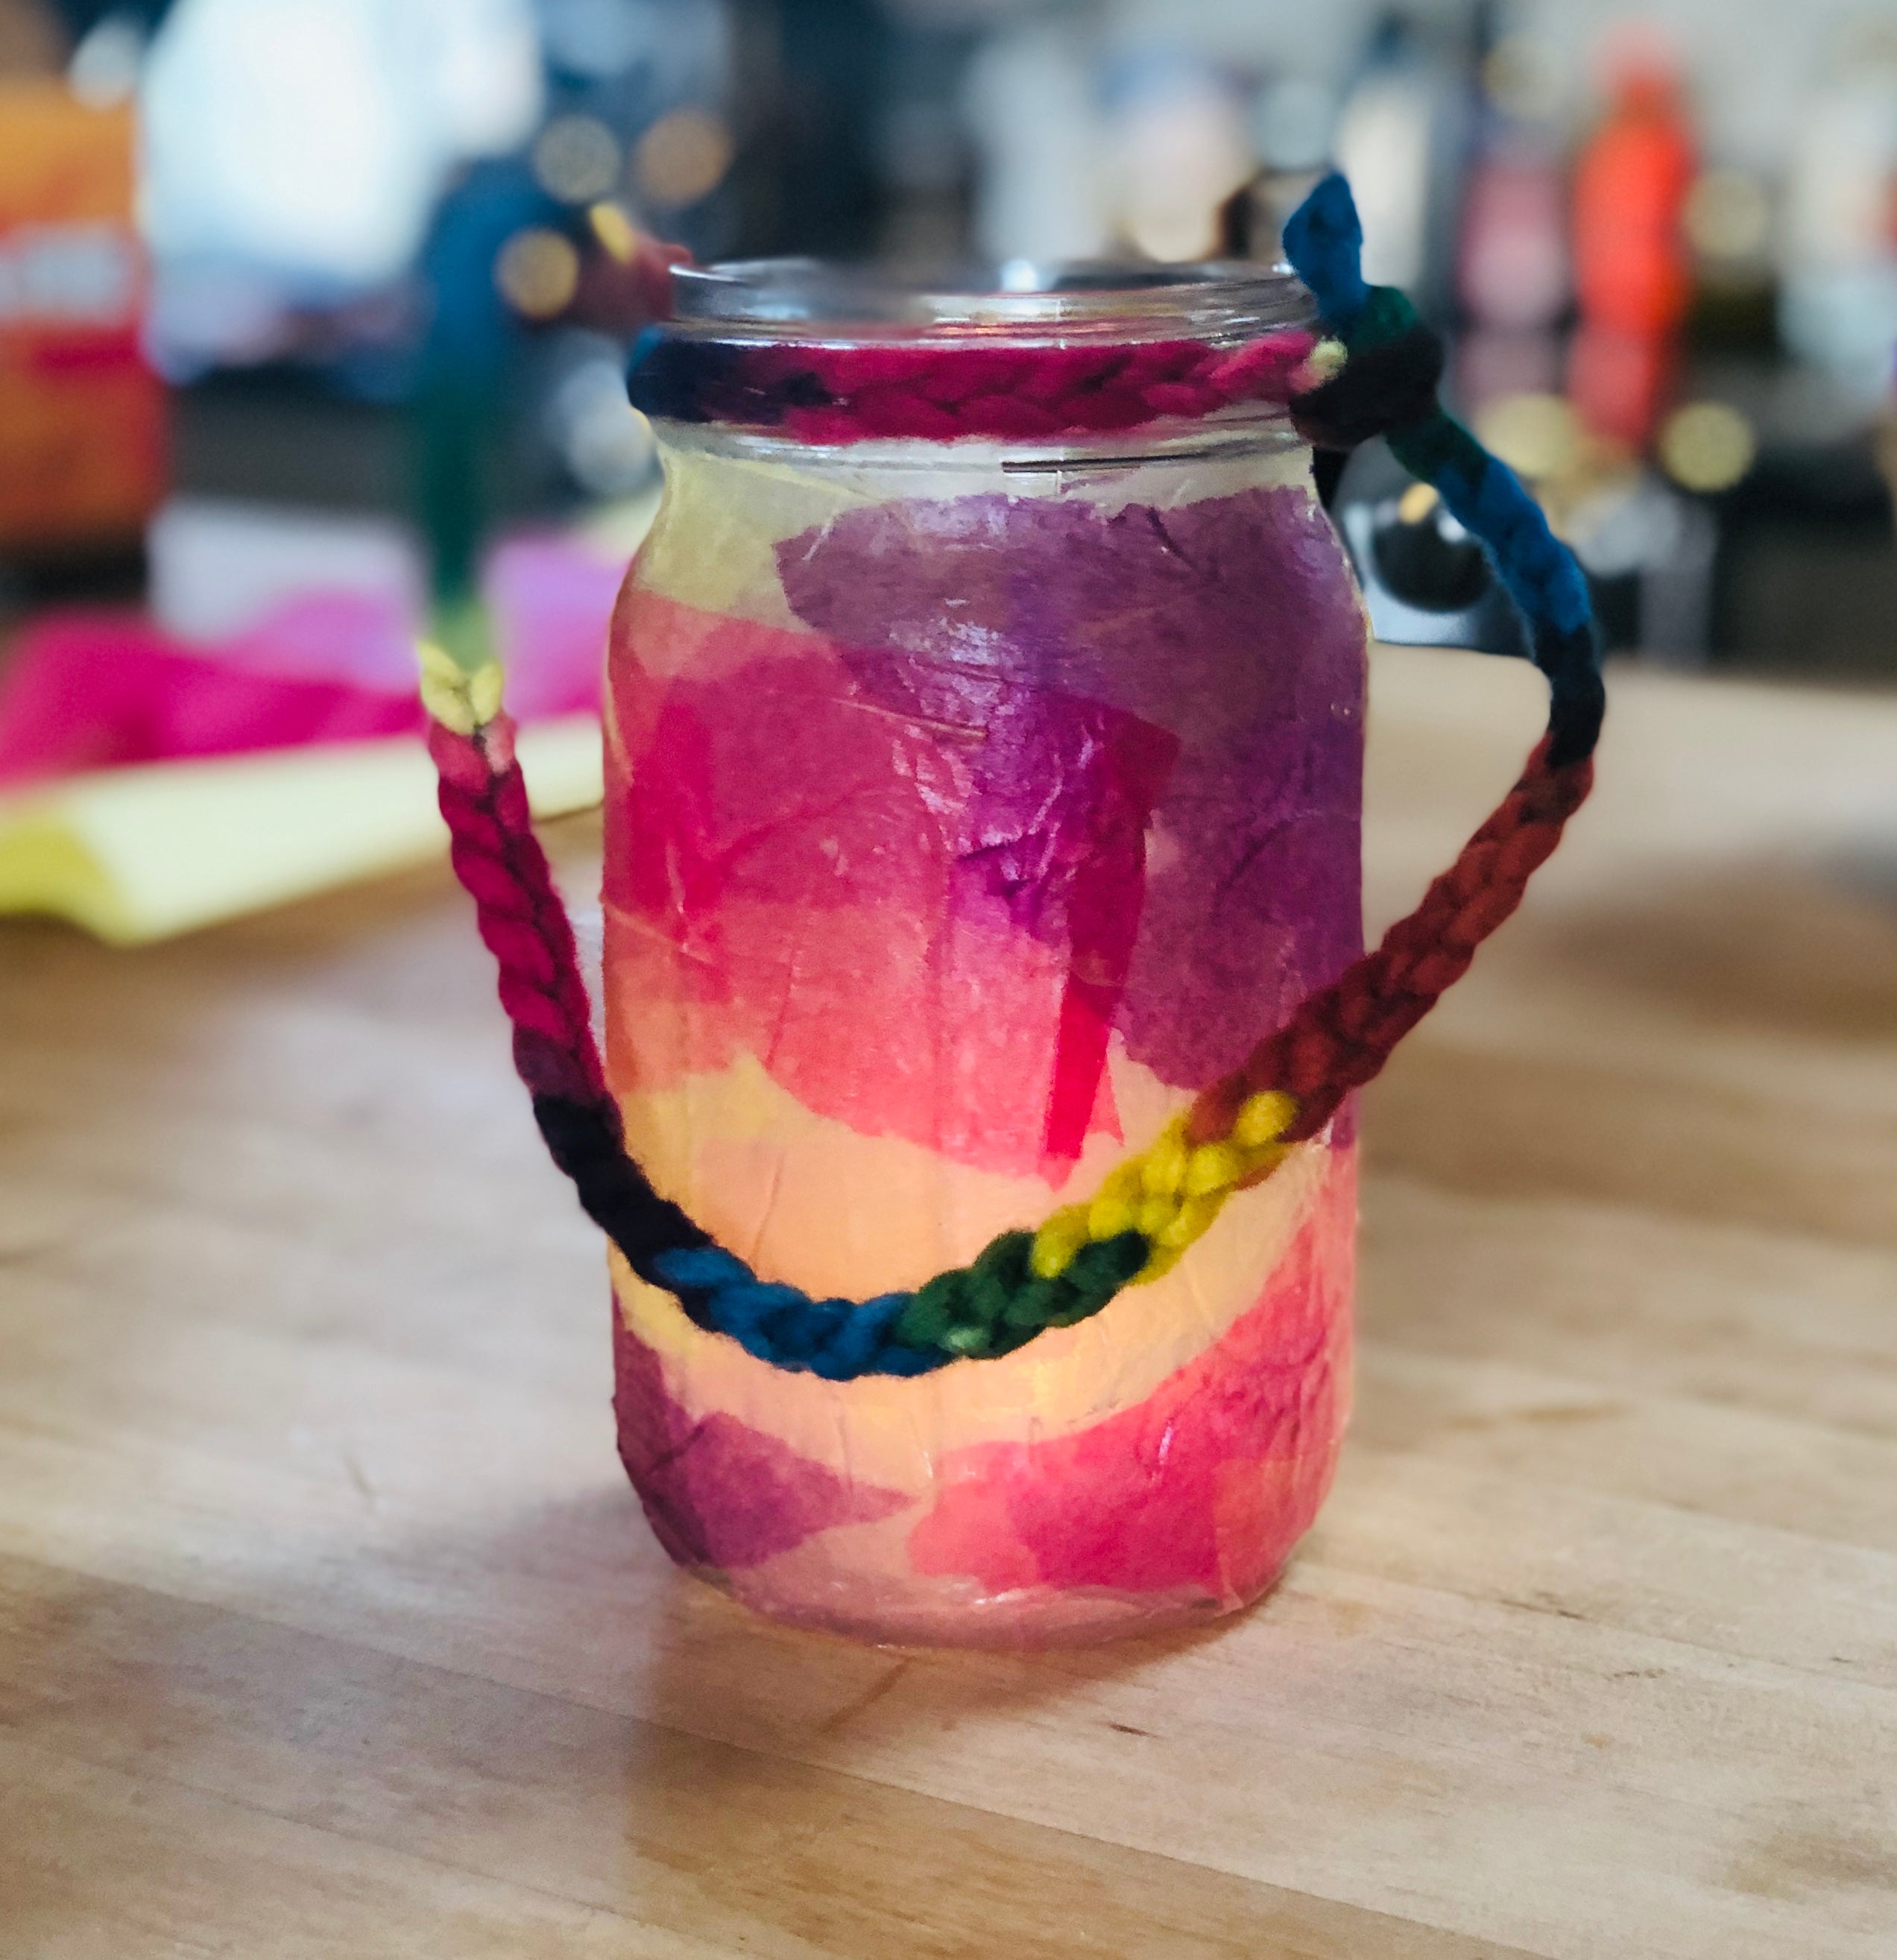
Here's how to make a really simple lantern using a glass jar. We're going to cover it in colorful tissue paper and use a finger knit chain to make a carrying handle. It's really simple and fun!
Let's go over what you'll need for this project:
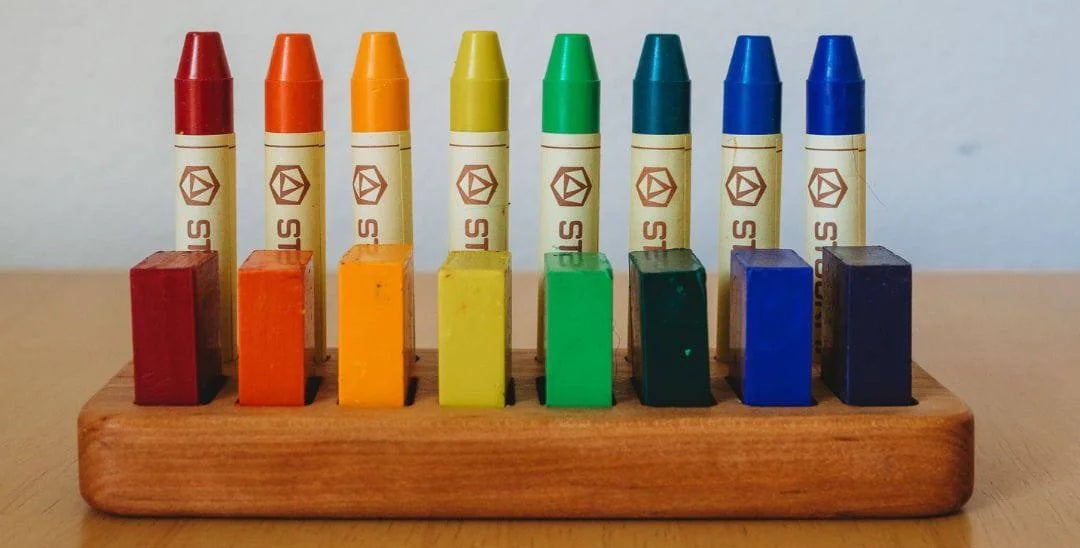
- Tissue paper. You'll want a supply of colored tissue paper. Normally I would use fall colors—red, orange and yellow—but you, of course, are free to use whatever colors you and your child prefer.
- A glass jar. Preferably one with a wide mouth because you’re going to have to fit your hand in to place the candle at the end. Wide-mouthed mason jars are great, but any old jar you have will do.
- Yarn. When you’re finished, you’re going to make a handle out of finger knit yarn. I've previously released a video on how to finger knit so if you've never done that before, you can watch the tutorial here. You’ll want a chain about two feet in length already prepared. I recommend our Bulky Rainbow Yarn from Bella Luna Toys because it's thick and sturdy: perfect for making a handle. It also knits up very quickly and easily.
- Glue. You're going to need glue. I use Ukkie Glue, which we also sell at Bella Luna Toys. A lot of people like to use Mod Podge which is often used for decoupage and is commonly available in craft stores or online. You can also use Elmer's Glue, or I've even heard of people doing this with egg whites. You can experiment. I like Ukkie Glue because it's clear. You’ll also need a little bit water for diluting the glue. You're going to need a brush to affix the tissue paper to the jar with the glue. You can either use a little chip paintbrush, or a foam applicator brush which is what I like to use. Again, available to any craft store.
- Tea light. When you’re all done, you’re going to put your tea light candle inside, affixing it with some masking tape. If your school doesn't allow lit candles or you’re concerned about safety, you could use one of those little battery-operated votive candles.
In all my years teaching in a Waldorf school, we used real candles without incident but be careful and, of course, adult supervision is a must when children are dealing with lit candles.
You’re going to start by preparing your tissue paper and cutting it into small pieces. This is a great step for younger children to help with. Some people like to cut them with scissors into squares. Personally, I like to tear them. I find the shapes are a little more interesting, a little more organic, than neatly cut squares but you could do it whichever way you like.
You want to tear pieces that aren't too small. The smaller they are, the harder it will be to stick them to your glass jar and the more time it will take, so I like palm-sized pieces.
And then I just put my torn pieces in a big bowl until I have enough to cover the jar. Next, you’re going to dilute the glue. Mix about two parts glue to one part water in a cup with your brush.
Now you’re ready to start glueing! You probably want to put newspaper down on your table if you're working with children. If the wet tissue paper gets on wood it will stain. Simply use the brush to apply some glue on a small section of the glass, then stick a piece of tissue paper over the wet glue. You can also spread more glue on top to really seal the paper on and smooth it out.
It's nice when the pieces overlap, it can make beautiful secondary colors that shine through. And if you find that a color is too pale, you can just go ahead and put another piece over to intensify it. I find it's more interesting the more layers you put on. However, you want to be aware that the more layers you put on, the more opaque your lantern will be and the less light will shine through.
Once you’ve covered the jar, I recommend letting it dry overnight before attaching the handle. When you’re ready, take one end of your finger knit chain, loop it around the rim of the jar, and tie it.
Knot it pretty tightly, you don't want the handle to fall off while your child is carrying the lantern with a lit candle. Find the right length for the handle—you want the hand to be far enough away from the candle so it doesn't get hot—and cut it a few inches longer so that you have a bit of a tail. You can unravel the knitting to make the tail, then pull it tight.
Thread that tail through the finger knit chain on the opposite side and tie it very securely. You want to make sure it's really opposite the other side of the handle so that the lantern is balanced when you hold it.
For the final step, you’ll want to take a piece of masking tape and double back it on itself to create a double sided pad. Stick it to the bottom of the tea light, make sure your wick is standing straight up, and affix it to the bottom of the jar.
And there you go! Your lantern is ready for the lantern walk!
To light it, you might want to make sure you have long stick matches that will reach down into the jar or one of those long grill lighters. To finish, I just thought I would share my favorite lantern song which I've sung before on my Autumn Songs video. The words go like this:
I go with my bright little lantern,
My lantern is going with me,
In heaven the stars will be shining,
On earth shines my lantern for me.
The lights grow dim as we go in,
La-bimba-la-bamba-la-boom
The lights grow dim as we go in,
La-bimba-la-bamba-la-boom
I hope this inspires you to make your own lantern for a lantern walk, whether it’s for a Waldorf school or just a walk with family and friends.

This is so beautiful! Most of all it’s easy and can be done with materials we already have at home! Thank you for posting… we will be doing this for martinmas this year.
Thank you so much for posting this! We are taking part my son’s first lantern walk at school and the children are making lanterns in school, but I want to make a lantern for myself too so this is perfect!
Leave a comment