


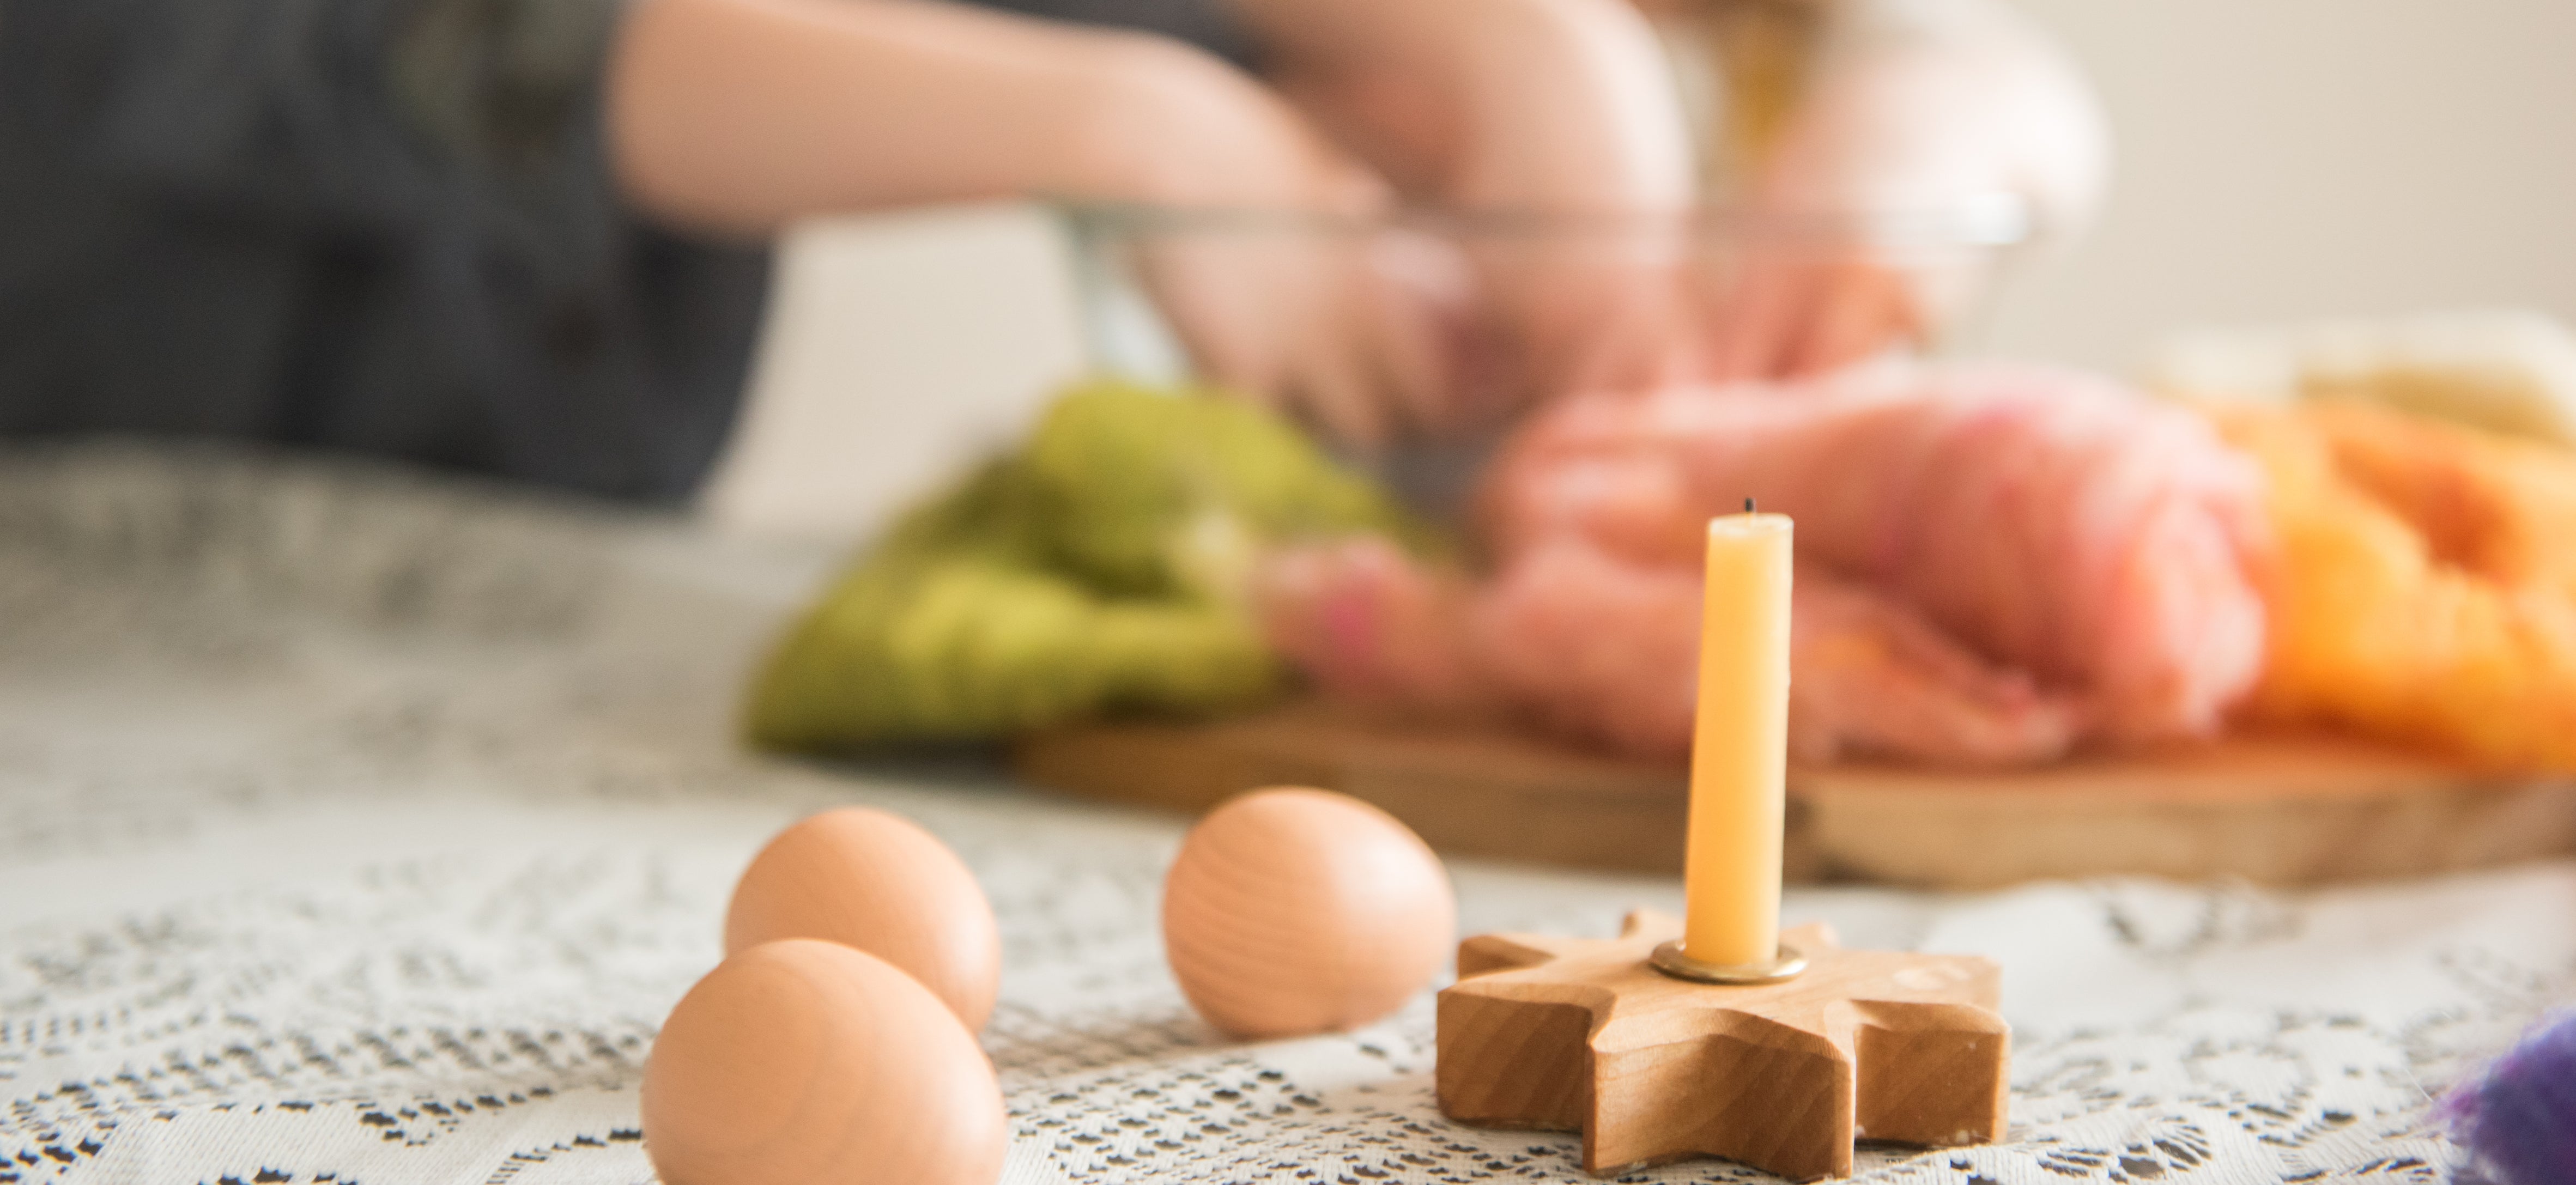
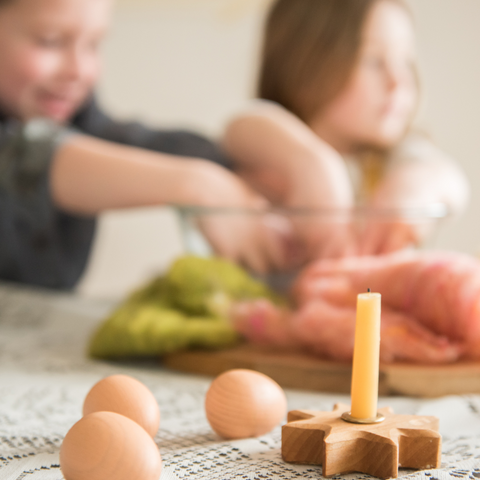
Wet felting is a common handwork practice in Waldorf schools, beginning in early childhood. Working with the natural wool is an excellent way to engage children's hands and hearts. With Easter and Spring just around the corner, it's the perfect time to create wet felted Easter Eggs with your children.

Gather Your Materials
- Wool roving in several colors
- Pencil roving for finer details
- Wooden eggs to shape your wool around (optional)
- Large bowl
- Gentle dish soap

Getting Started
Before you begin creating your eggs, prepare a bowl of warm, slightly soapy water. To begin the eggs, first decide what colors you would like to use. You can make eggs that are all one color, with contrasting patterns on top, or you can blend as many colors as you'd like. Begin by gently pulling roving out of the ball. Do not rip or cut the roving, simply gently hold the two sides of wool, and without using much pressure, pull them apart. Take this layer of wool and gently tug the fibers apart until it is evenly thin. Put a wooden egg in the middle and wrap the wool roving around it. Repeat this process with a second strip of wool roving. Wrap this roving around the egg, but this time in the opposite direction as the first layer. Continue to repeat these steps until the egg is entirely covered with a decently thick layer of wool.

Now you can dip your egg into the bowl of warm water. Hold it loosely in your hands to keep the shape intact. Lift it out of the water and allow to drain. Now lightly drizzle dish soap all over the wet wool.
If you would like to add designs or other colors to your egg, now is the time! Carefully wrap your color roving of choice around the egg or in the design you desire. Now you can begin to pass the egg shape back and forth between your hands, creating a small amount of friction to begin locking the fibers together.

It will start out pretty slippery and loose feeling, but as you work the water in, it will begin to tighten and firm up. Do not put much pressure into it, or it will create uneven crack lines in the egg. Once it begins to hold it's own shape, you can begin rolling between the flattened palms of your hands.

As you roll, you will notice the egg becoming more compact and dense. This process takes a few minutes. Be patient as you roll the egg, and don't try to press it. Keep it damp and lightly soaped as you continue to roll it between your hands. As you roll, put more pressure on the two ends of the egg so it keeps it's egg shape. Continue until it feels quite firm. Once you are happy with the shape and feel of your egg, rinse out all of the soap under warm, running water. Place it on a towel in a sunny spot to dry for at least 24 hours.

If you used a wooden egg inside the wool roving to form the shape, you can either leave it inside or cut a line into the center of the egg, large enough to remove the wooden egg through. The wool will keep it's shape, or you can add a blanket stitch with embroidery thread around the cut to give it a more tidy look. Then you have a lovely little surprise spot to add special treasures! You could put a small toy, a crystal, a shell, or some other special thing for them to discover. This is an especially fun surprise if your children helped make the eggs. Find even more Easter and Spring inspiration on the Moon Child Blog.


Leave a comment