


With just a few tools and a touch of creativity, you'll soon be crafting your very own crochet flower branches. This simple yet rewarding craft is perfect for beginners and seasoned crocheters alike. So, let's gather our supplies and let the blossoming fun begin!
This craft is a bit more challenging, so it is recommended for older kids. Have fun picking out yarn colors to create colorful blooms all your own.
Gather Your Supplies:
These are the tools we used to create our Crochet Blossom Branch:
- 4 different colors of yarn (3 different colors for the blossoms and a green for the leaves)
- 2 pipe cleaners (any color will work since you'll be wrapping entirely with yarn)
- Crochet hook, size E (3.5mm)
- Embroidery needle or hot glue gun to attach

Stitches You'll Need:
- ch: Chain
- sc: Single crochet
- hdc: half double crochet
- dc: double crochet
- tr: 1 treble crochet
Create Your Crochet Blossom Branch:
Step 1:
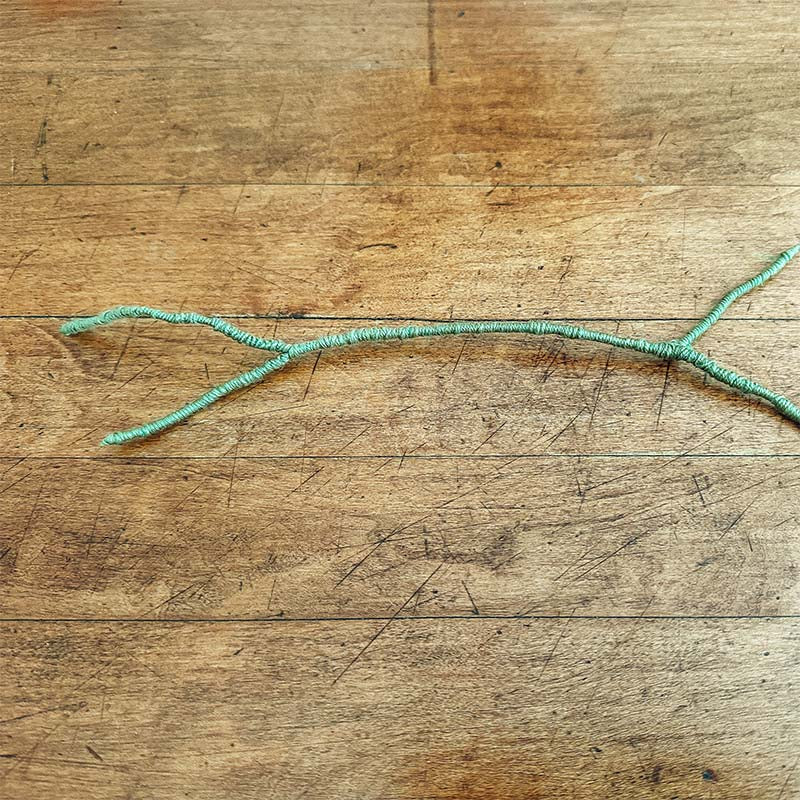
Wrap your pipe cleaners around each other into the design you desire to form the branch. Then, using the green yarn, wrap the yarn around the pipe cleaners so none of the fuzz is showing. TIP: Using a heavier weight yarn for the branch will make it much easier to cover.
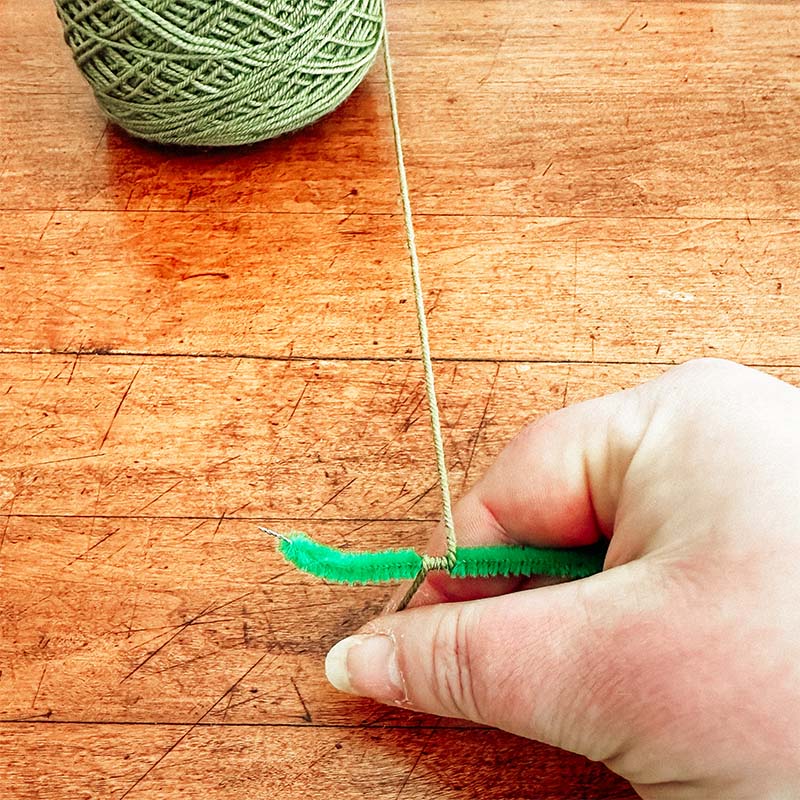
Step 2:
Continue wrapping until the branch is fully covered and no fuzz is peaking out. TIP: Pull off about 1/4" of fuzz from the tips of the pipe cleaners to make the ends easier to cover.
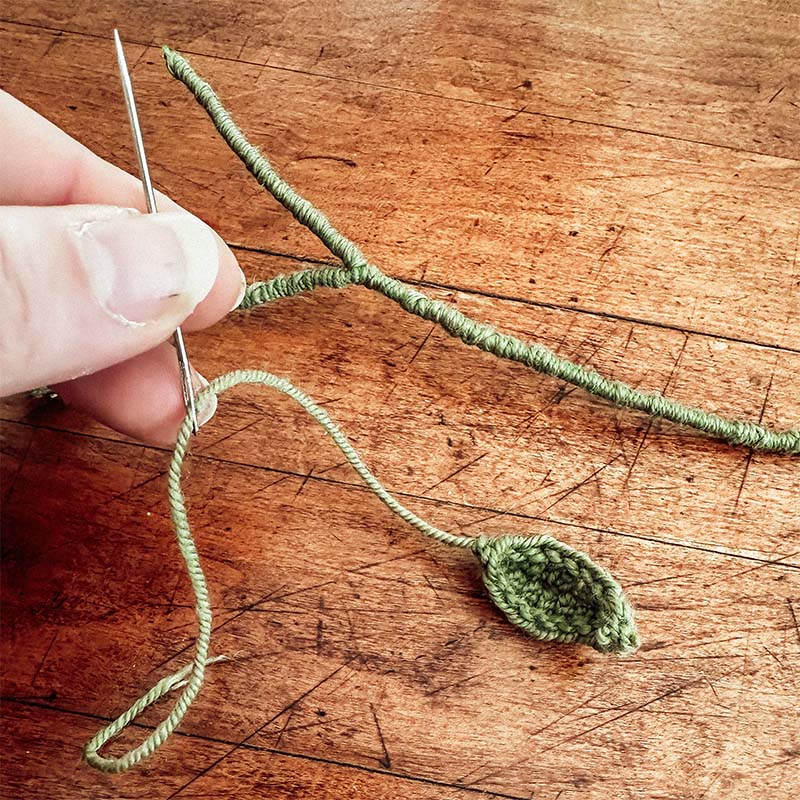
Step 3: Crochet the Leaves
- Chain 9.
- Working in the outside loops only, in second ch from the hook, sc, sc, Hdc in the next, dc in the next, 2dc, dc, hdc, sc (9 stitches).
- Then working down the other side of the foundation chain, sc, hdc, dc, 2dc, dc, h2dc, sc, sc, slip st to the top. (9 stitches).
- Weave in the shorter end and leave the other end on the longer side - you'll use this and the needle to attach to the branch. (Optional: you can also use a hot glue gun to attach)
- Make 10.
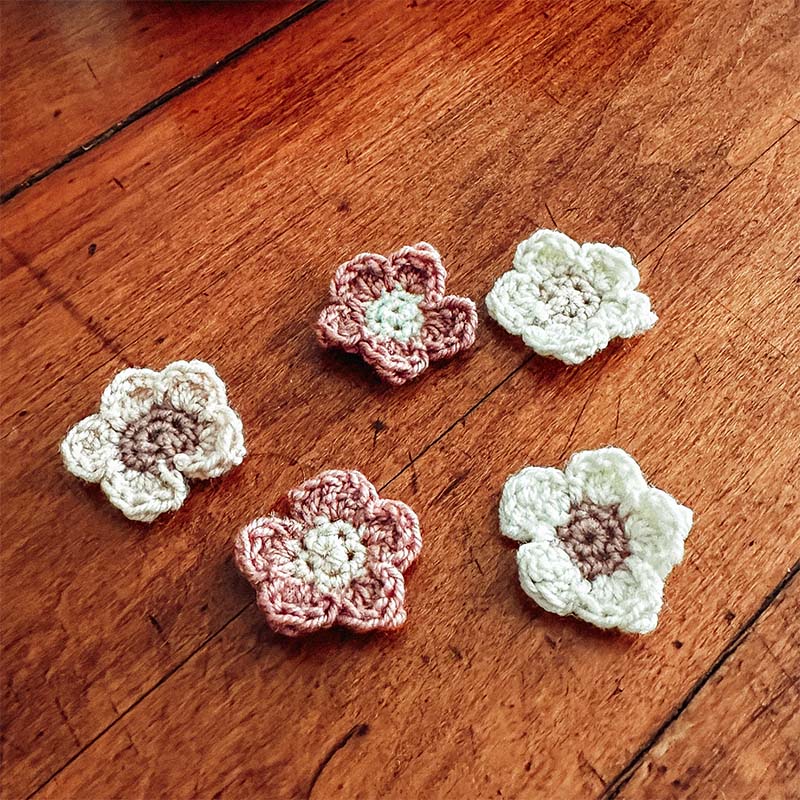
Step 4: Crochet the Blossoms
- Choose the color to create the stamen of your first flower. Create a magic ring.
- Work 5 sc into magic ring. 5sc
- 2 sc into next stitch. Repeat for all 5 stitches. Sl st into next stitch. Fasten off. 10sc
- In light pink (or ivory, or pink), join with a sl stitch into any stitch. Ch 2, 1 dc, 1 tr, 2dc into next stitch. Sl st into next stitch. [2 dc, 1 tr, 2 dc into next st. Slip st] 5 times. 30 sts. Fasten off. Sew in ends.
- **TIP: If you don't have a hot glue gun, or wish to use the sewing method to attach, leave the ends longer to tie the flowers onto the branch.
- Make 10 of different color combinations.
Step 5: Attaching the Leaves
Using a needle and the end tail, sew onto branch by wrapping the end around the branch a few times, then sewing up through the leaf. Weave in the starting tail.
Step 6: Attaching the Blossoms
Weave in the ends of the petals (only). Using the tails of the center color, tie around the branch and secure using a double knot. Snip off or weave in ends.
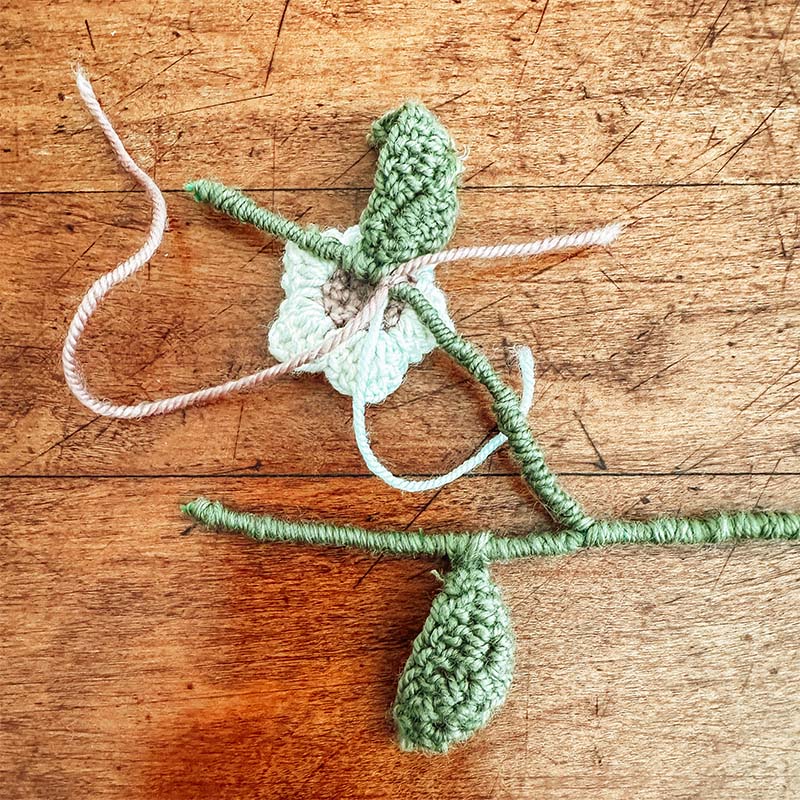
Step 7:
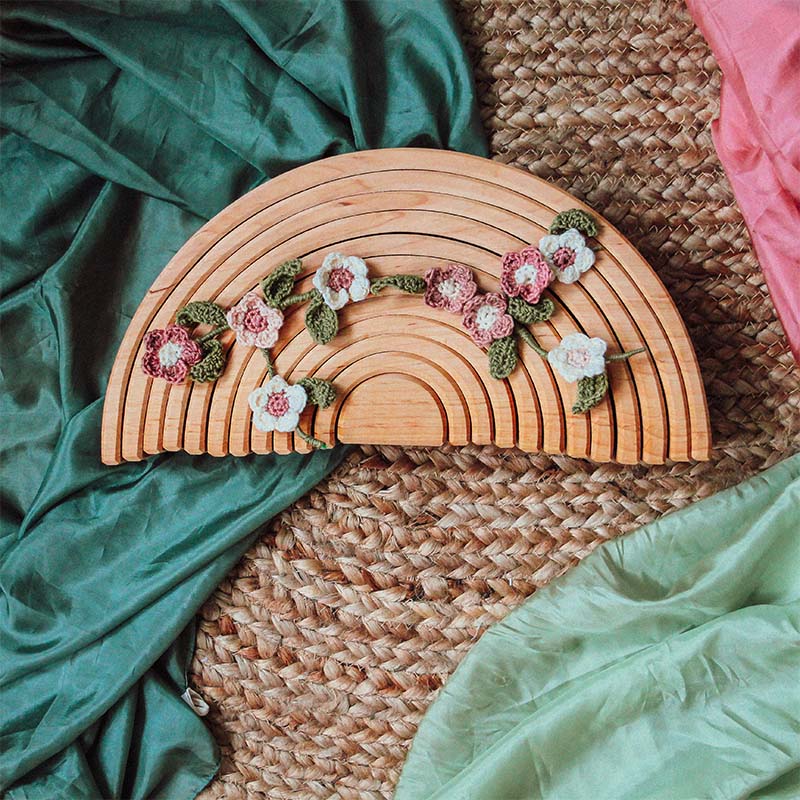
Continue securing the blossoms in desired locations until you have a full and beautiful branch!

Step 8: Enjoy!
This beautiful spring branch can be placed on your Nature Table, or anywhere in the house to add a touch of spring.


Wow! This was so detailed, i actually want to make this with my daughter. Thank you!
Leave a comment