


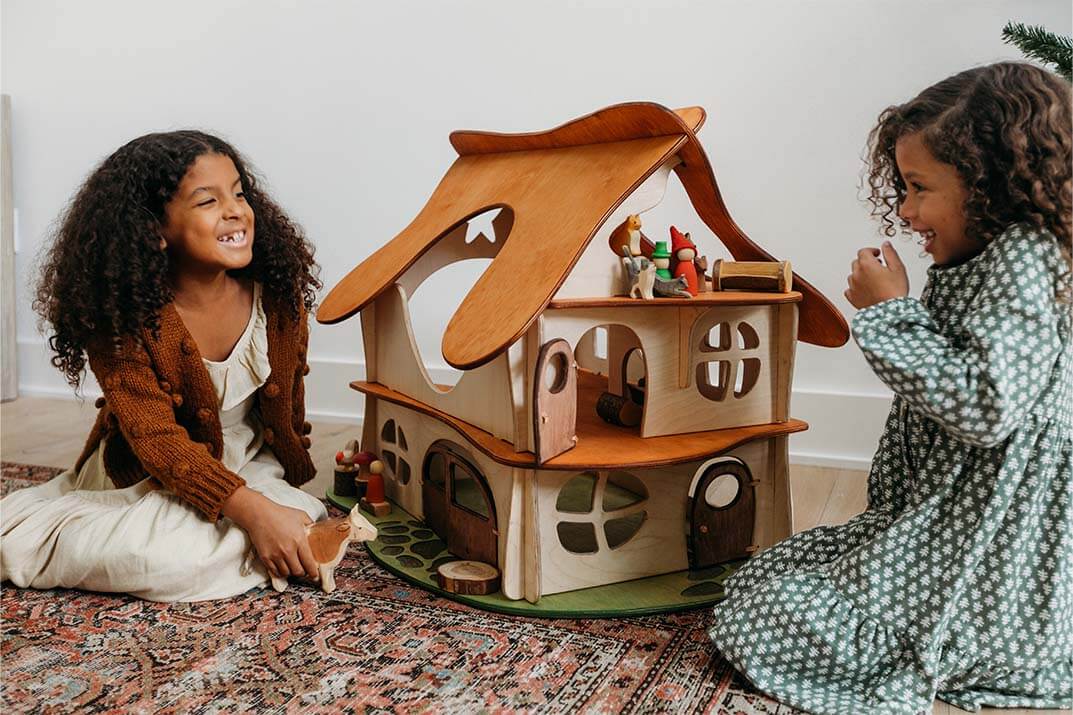


Welcome a new woodland friend into the family with our knitted gnome tutorial.
Traveling handwork teacher Chenoa Pelligra created this whimsical doll tutorial for us, ideal for children who have already mastered a garter stitch (a regular knit stitch) and are ready to learn to purl!
This gnome is created in stockinette stitch (knit one row, purl one row). Learning to purl can present new challenges as it can feel like the opposite of knitting and requires a new way of thinking and new hand rhythm.
Here's instructions on how to get started.

Materials
- Worsted weight wool yarn- a couple of colors for clothing and a skin tone.
- Wooden knitting needles US size 7 or 8
- A yarn needle for sewing
- Wool for stuffing

Knitting
The entire gnome is worked in Stockinette stitch, made in 5 parts and then stitched together. The body is comprised of (legs, torso, head), 2 arms, hat, and an optional backpack for crystals and stones.
Body
You'll start with the foot when creating the body.
Cast on 10 sts and work 5 rows.
Change to desired pants/leg color
Work 10 rows, cut yarn leaving a hand’s length and push leg down to bottom of needle.
Repeat for the second foot and leg.
Join legs, you should now have 20 sts on your needle and work 2 rows in leg color
Change to shirt color and work 10 rows.
Change to skin tone and work 9 rows. On row 10 purl every two stitches together so you finish with 10 sts on the needle. Cut yarn, leaving two hand's lengths, and push to the bottom of the needle.
Arms
*Cast on 10 sts in shirt color
Work 10 rows
Change to skin tone
Work 2 rows, cut leaving a hand’s length and push to bottom of needle*
Repeat from *to * for the second arm.
Hat
Cast on 22 sts.
Work 4 rows, then knit the first two stitches together only at the beginning of each row until you only have 1 stitch remaining.
Cut yarn two hand’s lengths and send the end of the yarn through the last stitch and pull tight to secure.
Optional Backpack
Cast on 10 stitches and work until it is a square when folded, cast off.

This completes all the knitted parts of the gnome.
Sewing & Stuffing

Body
Start with sewing the head which is a part of the main body piece you knit. Thread the yarn you left two hand’s lengths long into your yarn needle, then slide out the wooden knitting needle and carefully collect the stitches onto your yarn needle.
Next pull the yarn through, and all your stitches should gather/cinch up tightly closing the top of the head. Sew using the whip stitch down the back of the head until you reach the shirt color. Stuff head.
Next, we will work our way from the toes up. Gather the cast on edge on your yarn needle and pull to cinch up tightly, very similar to how we did the top of the head. Sew the leg stopping at the top. Then repeat with the second foot and leg, stuff both legs. Next sew half of the gnome’s back together leaving space to stuff the torso and then sew closed. You can shape the feet and neck with running stitches around and then pull to tighten.

Arms
Follow the same process as the top of the head. Sew and stuff and then attach them to the main body piece.Hat
Fold in half and sew down the back seam and continue using the same yarn to sew it to the gnome’s head.Backpack
Fold in half and sew the sides. Finger knit the straps and attach.


Hi Aubrey,
I was a little confused when I was knitting it up, too. After studying the pattern and comparing it to what I knit, I realized that after knitting the legs, plus 2 rows for the top of the pants, the shirt is the next 10 rows, and the head is the last 10 rows after that (including the row where you purl every 2 stitches together). The arms are knit separately and stitched on at the end.
I hope this helps if you haven’t already figured it out!
I love this tutorial but am having a hard time finding instructions for how many rows to knit for the torso and head. Am I completely missing it or was it omitted?
Leave a comment