


Stay cozy and warm all winter long with a hat that's as fun to wear as it is to make. Whether you're a seasoned yarn enthusiast or a novice looking to embark on a cozy crafting journey, making a crochet hat is a perfect starting point. With just a hook, some yarn, and a dash of imagination, you can craft a hat that not only keeps you snug during chilly days but also allows you to express your unique style!
Gather Your Supplies:
These are the tools we used to create our simple crochet hat:
- 6.5mm crochet hook
- Medium weight yarn
- Yarn needle
- Embroidery needle (optional)
- Embroidery thread(optional)
- Felt sheet (optional)
Create your Simple Crochet Hat:
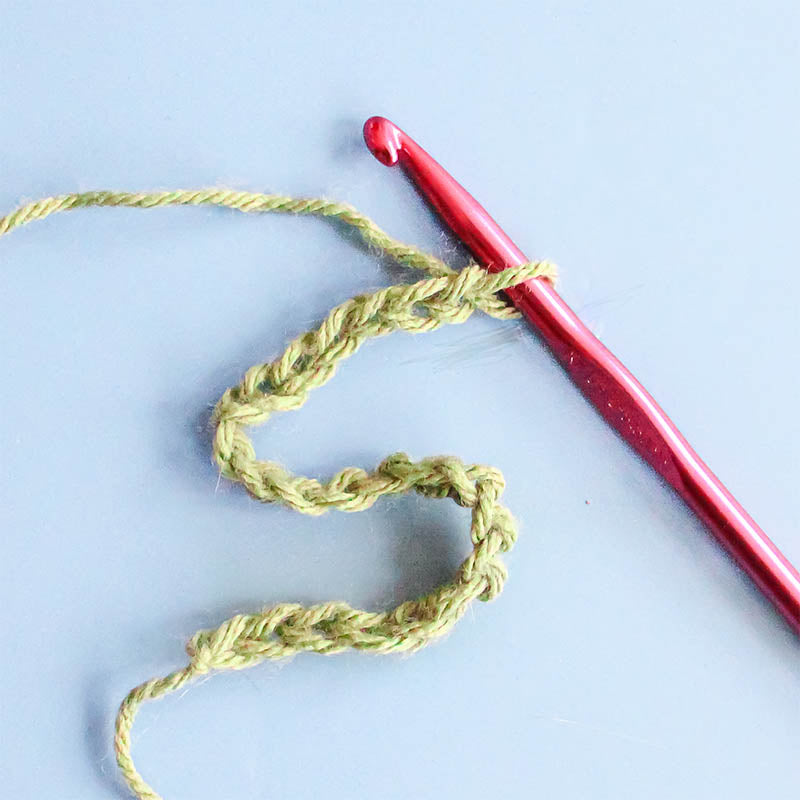
Step 1: Create a crochet chain
To begin, start by crocheting a single crochet chain until the length of the hat is reached. We recommend creating a chain that reaches from the middle of the top of your head to the bottom of your nose.
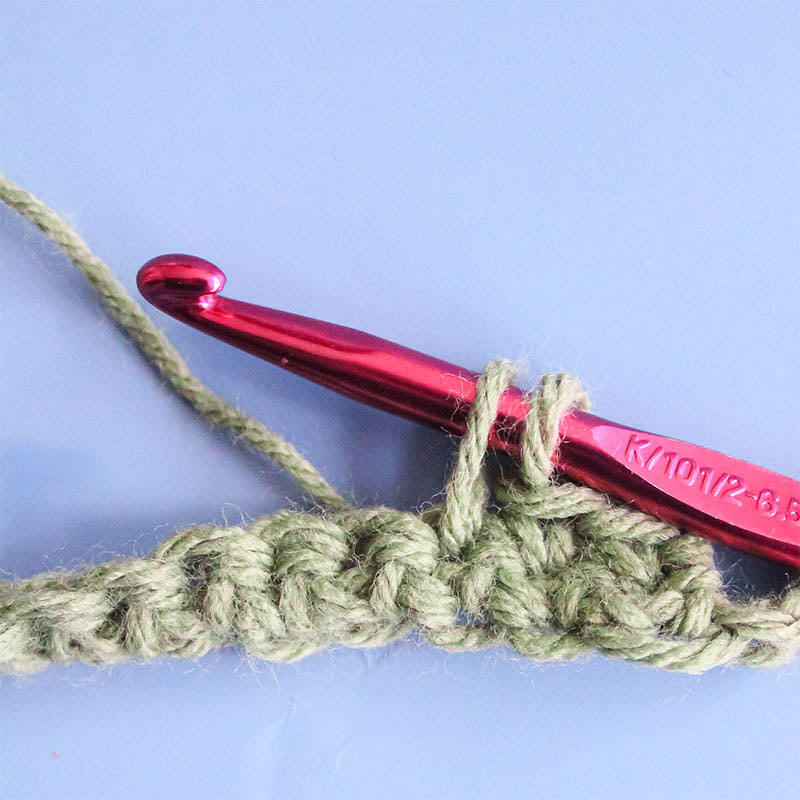
Step 2: Single crochet
Once you have your desired length with the single chain, begin crocheting the hat. Do lines of simple single crochet until the desired width is reached.
Step 3: Crochet Edges Together
Once the width is reached that fits snugly around your head, do a single crochet along the edges of your rectangle to close the hat to create an open cylinder.
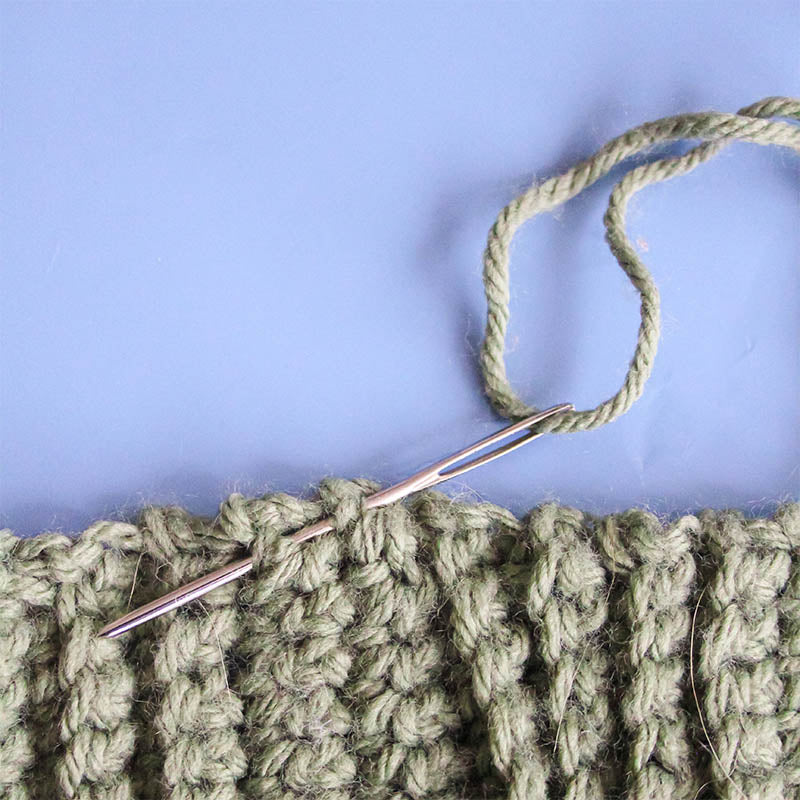
Step 5: Close the Top
After closing the edges together, it is time to close the top of the hat. Take your yarn needle and with enough yarn (about double the width of the top of the hat), thread through the top row of stitches (in one out the next), twice through and pull the yarn tight to close. Knot the strings as tightly as possible and cut off the excess yarn.
Step 6: Add Any Additional Length
Sometimes the first height measurement isn't quite long enough. After closing the top of the hat, if you find it isn't long enough to cover your ears/desired length, simply add more rows of crochet to the bottom until the length wanted is reached. Note: The additional stitches will be going in a different direction than the rest, but will still look nice.
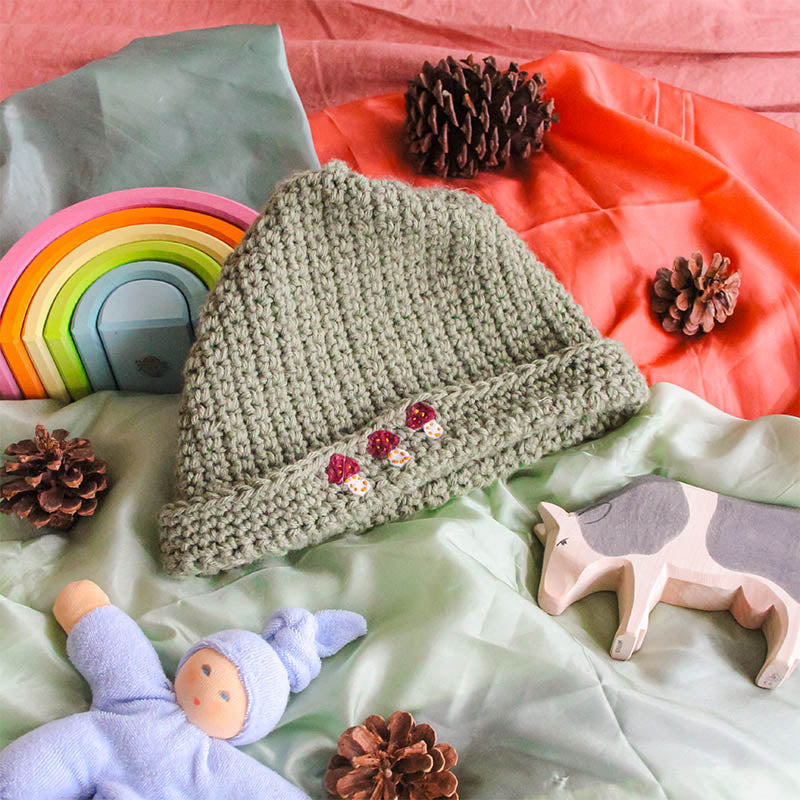
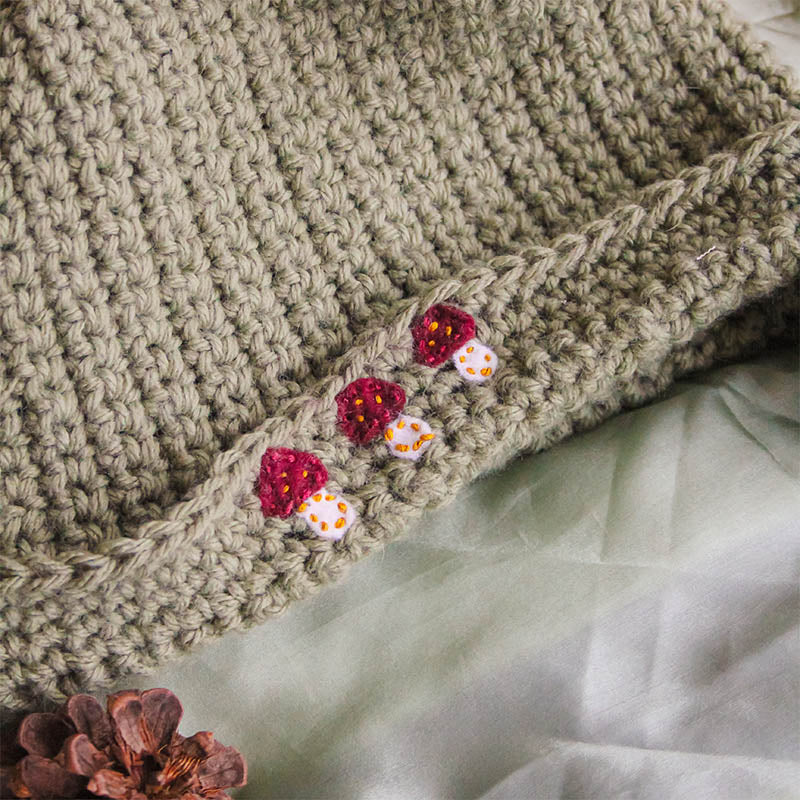
Step 6: Add Design (Optional)
Add a special touch to your hat! You can add designs in many ways. You can use yarn, felt, embroidery, etc. We used felt and embroidery on ours to add little mushrooms.
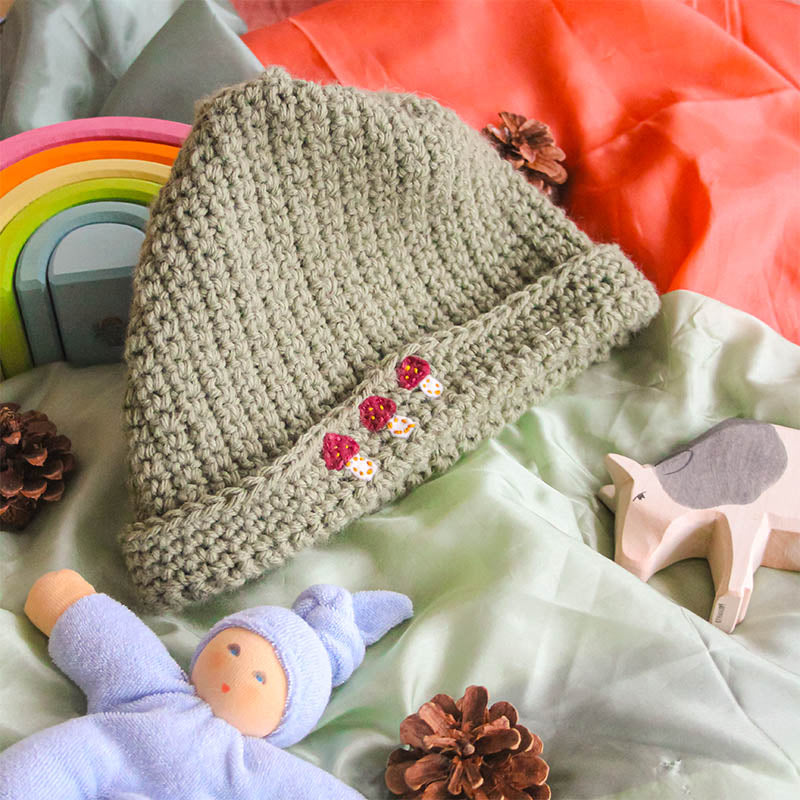
Step 7: Enjoy!
Keep your ears toasty warm with your new hat! Take on the snow and keep the cold away. Tag us in your beautiful creations!
We hope your winter is filled with engaging fun and heaps of family laughter and love, and a few crafternoons spent together. Share your play, crafts, reading, learning or anything magical with us on Instagram @bellalunatoys and use our hashtag #bellalunatoys for a chance to be featured on our feed or stories. Happy crafting!


Leave a comment