


Jessica Bentson is the owner of Mama Tell Me a Story, a Waldorf-inspired toymaking blog and business. She also shares wonderful crafts and activities on her Instagram account (which you can follow along here!) She created this tutorial exclusively for the Bella Luna Toys community!
Take it away, Jessica!
-
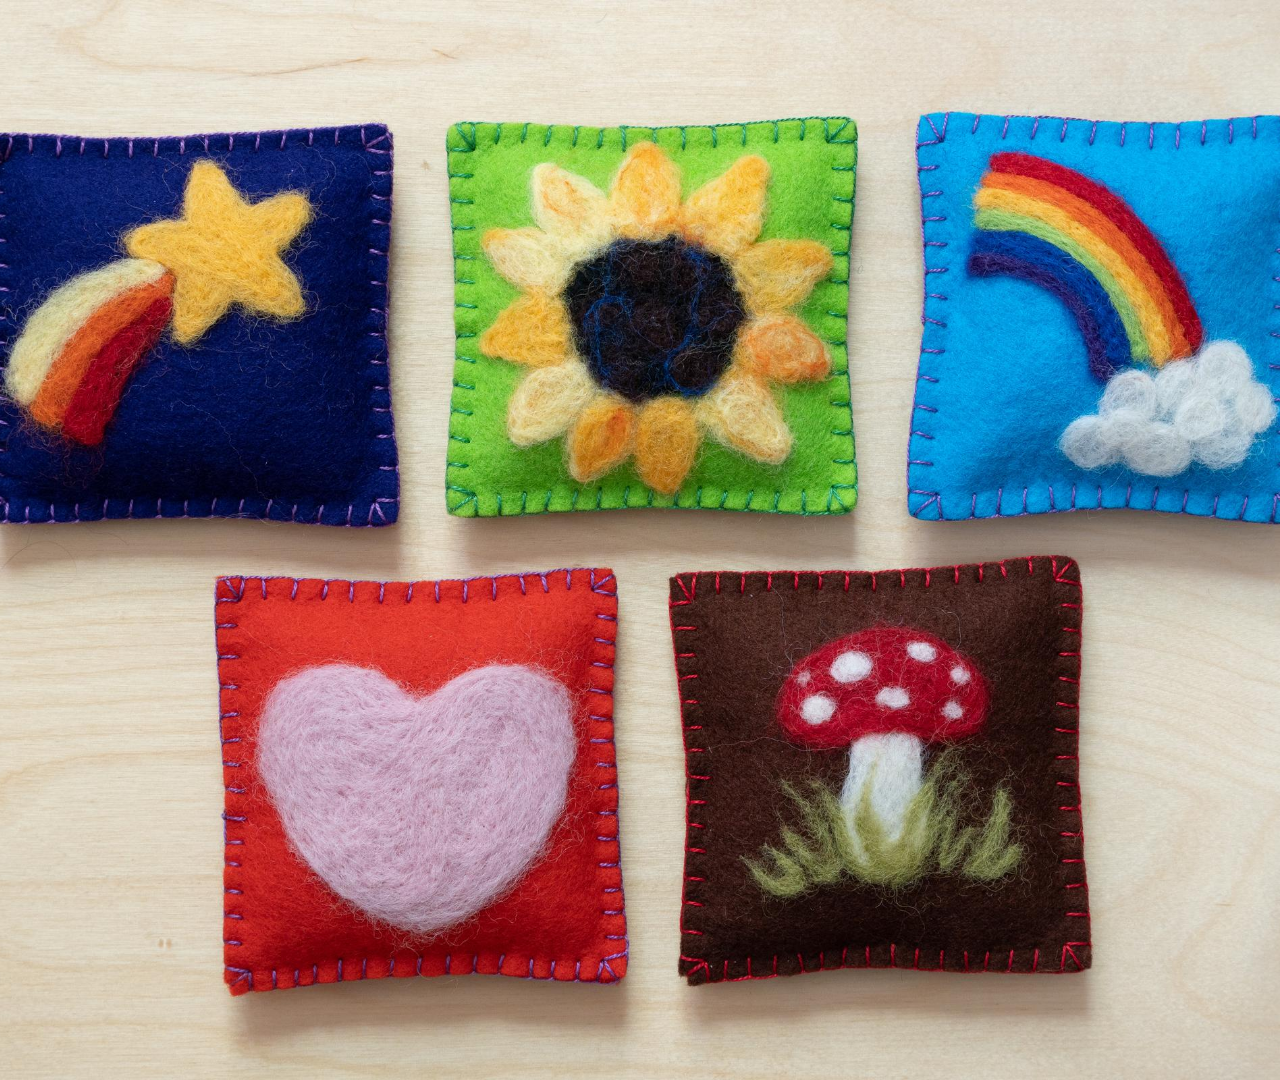
Bean bags make wonderful playthings for children. They find so many uses for them beyond a simple bean bag toss game! In this tutorial I am going to show you how to make hand sewn wool felt bean bags with fanciful additions of needle felted designs! If you’ve been itching to learn how to needle felt, this is a great project to start with!

Materials Needed:
Wool felt sheets
Wool roving
Felting needle - Size 38
Needle felting foam
Pearl Cotton thread
Embroidery needle
Beans (pinto, black beans, lentils, etc)
Scissors
Optional: measuring cup and an iron
Think of designs that will delight your child. If this is your first time needle felting and you feel insecure about how much wool to use or how to make a beautiful design, just try and go for it. Needle felting is very forgiving and it's easy to course correct. You can pull the wool off and start over if necessary. Making beautiful designs with wool is much easier than drawing or painting in my opinion. Just get started and you will learn quickly by trial and error.

Cut 2 squares of wool felt. I like 4” squares for little hands, but you could go up to 5” square. Take your needle felting foam and lay one felt square on top.

I’ll show you how to make a rainbow design! Start by grabbing a little bit of purple wool, pulling it out gently from the side.
 Then place it on your felt.

I like to fold the ends inward, to create cleaner looking ends.
 Using your felting needle, poke the wool all over at random. You can also use the point of your needle to guide the wool into place and then continue felting. You’ll know you've felted enough when there are very few wispy bits and when the wool feels very secure.
 Repeat with the other colors of the rainbow. If you feel like you’ve added too much of a certain color, pull it off and start again. If you feel like you didn’t put enough and can see the felt beneath, add more and continue felting.
 Every now and then lift your piece off of your foam block to release any fibers that start to felt to the block.
 Form a bit of a spiral with white wool with your fingers. Then place it down and begin felting it down.
 Repeat until you are happy with how your cloud looks. Now it’s time to turn it into a bean bag!
 This is optional but if your piece looks a bit warped or full of holes from the needle, you can set an iron to the wool setting and high steam, flip your piece over, and very gently bring the iron down onto the back of the wool and then lift, up and down a few times, allowing the steam to do it’s magic. Avoid pressing or moving the iron back and forth as you would with ironing clothes. Ironing will shrink the felt, however, and so you will either need to iron the square of felt for the back of the beanbag as well or trim it down to match the needle felted square of felt.
 Take your two felt squares and a needle threaded with an 18” length of pearl cotton thread (or embroidery floss) and sew them together using a blanket stitch. If you aren’t familiar with the blanket stitch, you can watch my video tutorial here.
 Leave an opening and fill with beans. Using a measuring cup ensures that each bag has the same amount of beans.
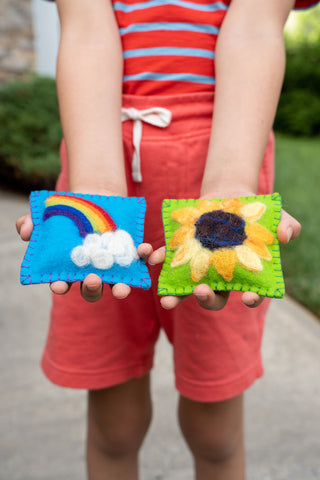
 Finish sewing and you’re done! On to your next design!
 Simple shapes, numbers and letters could be fun too!

I hope that this tutorial gives you the confidence to attempt any design you have in your head! I suspect you will become a needle felting addict after this project! It’s so much fun!
These bean bags are a great project to get practice in before tackling something slightly more challenging, such as a birthday crown!


Hi! This is such a great tutorial. It would be wonderful to update Jessica’s information in the intro to reflect how much her business has grown in the last 6 years. She’s running a wonderful program and has shared so many beautiful tutorials with Bella Luna’s customers through this blog.
Are all these materials in a kit? I’m looking for my grandkids.
Thanks.
Leave a comment